Data Item: Scene#
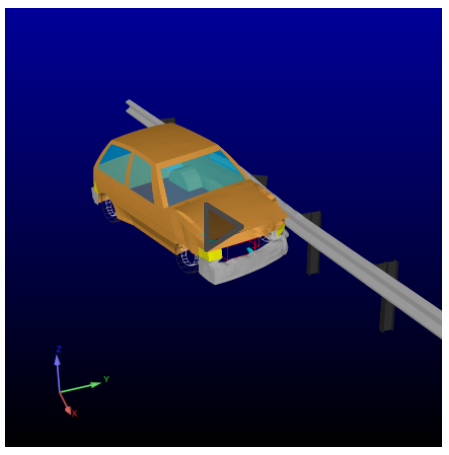
This contains a scene of 3D geometry that is rendered-interactively in the browser using WebGL. The scene consists of a collection of parts that can be animated over time. Parts are a collection of shaded polygon and line models that support basic coloring attributes, including the ability to be colored by a variable. An example might look like this:

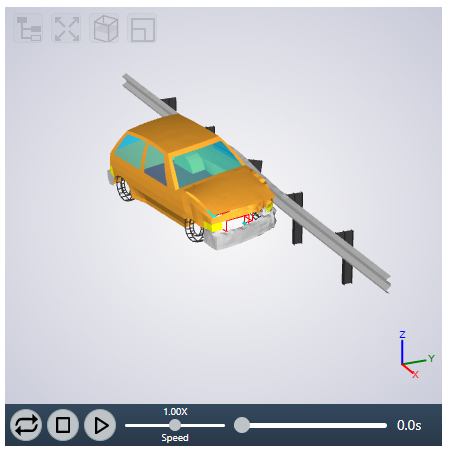
By default, the proxy image for the 3D scene is displayed. If EnSight is the source of the 3D scene, this will be the same Image visible when the scene is exported. Clicking on the scene will cause it to become active:

Options exist in the upper left corner of the view to display the part tree, re-center/size the scene, clip the scene and transition to/from full browser window mode.
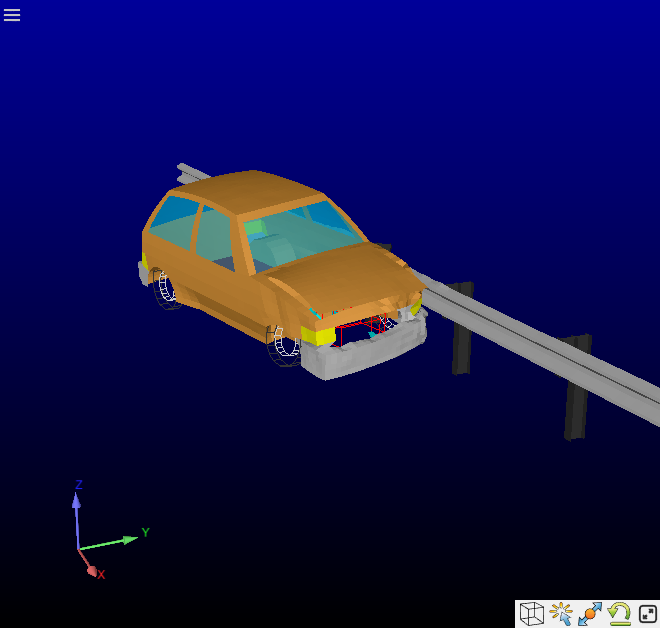
The embedded EnVision viewer can also be used to view some types of 3D scenes. This viewer looks like the following:

There is a hamburger menu in the upper left corner that can be used to hide/show parts and change variable displays as well as controls in the lower right for element outlines, part highlighting, recentering, revert and full screen mode.
Note: various web proxy configurations may put limits on the size of the geometry files that can be uploaded. Generally, files of several hundred MB are allowed, provided that the maximum size of a REST request allows them. See Nexus Launcher configuration for details.
Properties#
Property |
Value |
||||||||
|---|---|---|---|---|---|---|---|---|---|
enable_exploded_view |
Enable interactive "exploded view" for all geometry formats except GLB and EnSight scenes by setting this property to '1'. The default: '0'. |
||||||||
height |
height in pixels of the 3D rendering frame. The default is the height of the proxy image (if any). |
||||||||
width |
width in pixels of the 3D rendering frame. The default is the width of the proxy image (if any). |
||||||||
scene_translate |
An optional, three value vector representing an offset applied to the vertices of a GLB file. This can be used to place the geometry for simpler viewing. The default centers the geometry around the view origin. Example: [1.0,0.0,0.3] |
||||||||
scene_scale |
An optional scaling factor applied to vertices before the translation is applied. If the value is set to 0.0 (the default), the scale is set to the length of the largest axis. If the scale is set to -1.0, no scaling will be applied. |
||||||||
use_remote_viewer |
Some geometry items can be displayed using either the webGL rendering engine or embedded EnVision. For such items, if use_remote_viewer is set to 1, Ansys Dynamic Reporting will try to use the EnVision viewer wherever possible. See 3D Viewers. for more details. The default value is 0. |
||||||||
vr |
Control access to the virtual reality UI interface for scenes containing GLB format geometry. See Virtual Reality.
|
3D Viewers#
The following file formats can be uploaded into Ansys Dynamic Reporting as a scene item:
STL
PLY
EnSight Scene Geometry Source
SCDOC
SCDOCX
DSCO
AVZ
GLB
OBJ
The first three formats (STL, PLY, EnSight Scene Geometry Source) may be
displayed using WebGL or using the embedded EnVision viewer. The GLB, SCDOC, SCDOCX,
DSCO, OBJ, and AVZ formats can only be displayed with the WebGL viewer. The use_remote_viewer
property can be used to enable the use of the EnVision viewer if it is available.
Note
To use the embedded EnVision viewer it needs to be enabled in the ADR Nexus server launcher configuration setup and the user must be logged in.
Virtual Reality Support#
ADR includes basic virtual reality support via WebXR. It is only supported
when displaying scenes with GLB format geometry files and it only supports
viewing. Interaction with the 3D scenes is not currently supported. When
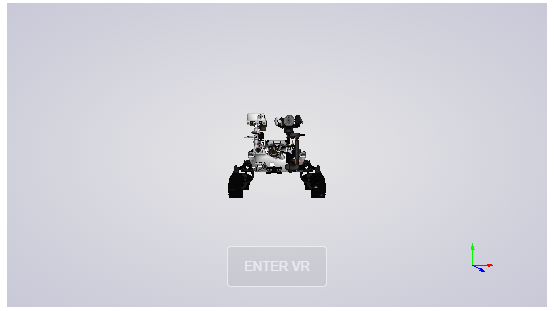
enabled, the 3D interactive scene will have an ENTER VR button overlaid.

Click on the button to enter virtual reality mode. Leaving the mode depends on the specific device being used.
To enable virtual reality in ADR one must do the following:
Upload a SceneItem with a GLB file payload. It is not supported for other scene file formats.
Set the
vrproperty toenableorifavailablefor the template the item is displayed in.Enable WebXR in the browser the ADR report is being displayed in. For example, the built-in web browser in an Meta Occulus Quest display has WebXR enabled automatically. One can install the WebXR emulator from the Chrome web store to enable WebXR without a physical VR device.
View the page containing the SceneItem.
(Optional) Use the
scene_translateandscene_scaleproperties to adjust the initial view of the 3D scene.