Admin Interface#
This is required and only useful if the logged-in user is a superuser i.e, admin. A normal user will not have access to this page.
The admin has the ability to add/edit/delete users and groups through this interface.
An admin will also use this interface to assign/remove global permissions to/from a user group.
Accessing the admin interface#
In order to access the admin interface, you must:
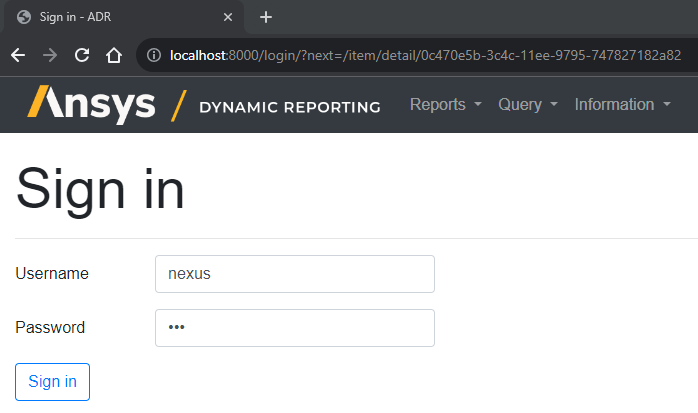
Log in as an admin/superuser into your ADR Nexus server from the home page. The default nexus user that comes initially is an admin by itself.
Then, go to Information -> User administration.
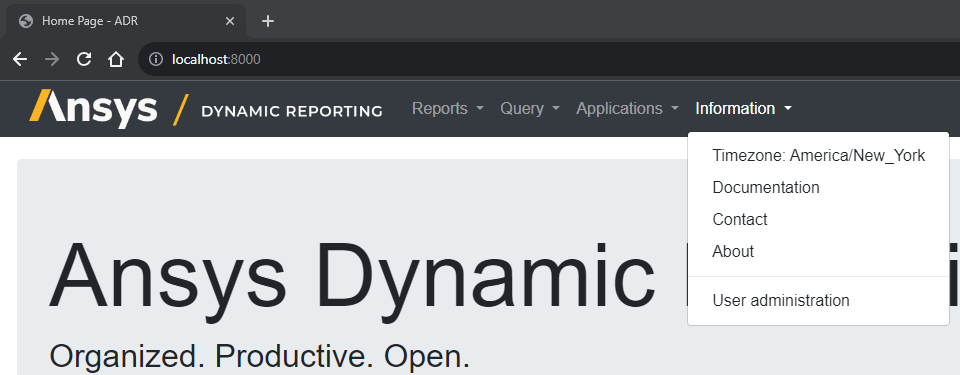
As a result, you will see the following page. The UI may vary a bit depending on which version of Ansys Dynamic Reporting you're running:

Adding/changing a group and assigning/removing permissions:#
Note: ADR Nexus server by default comes with nexus group that the nexus user will be a part of.
Click the add button as shown in the screenshot above, next to 'Groups'.
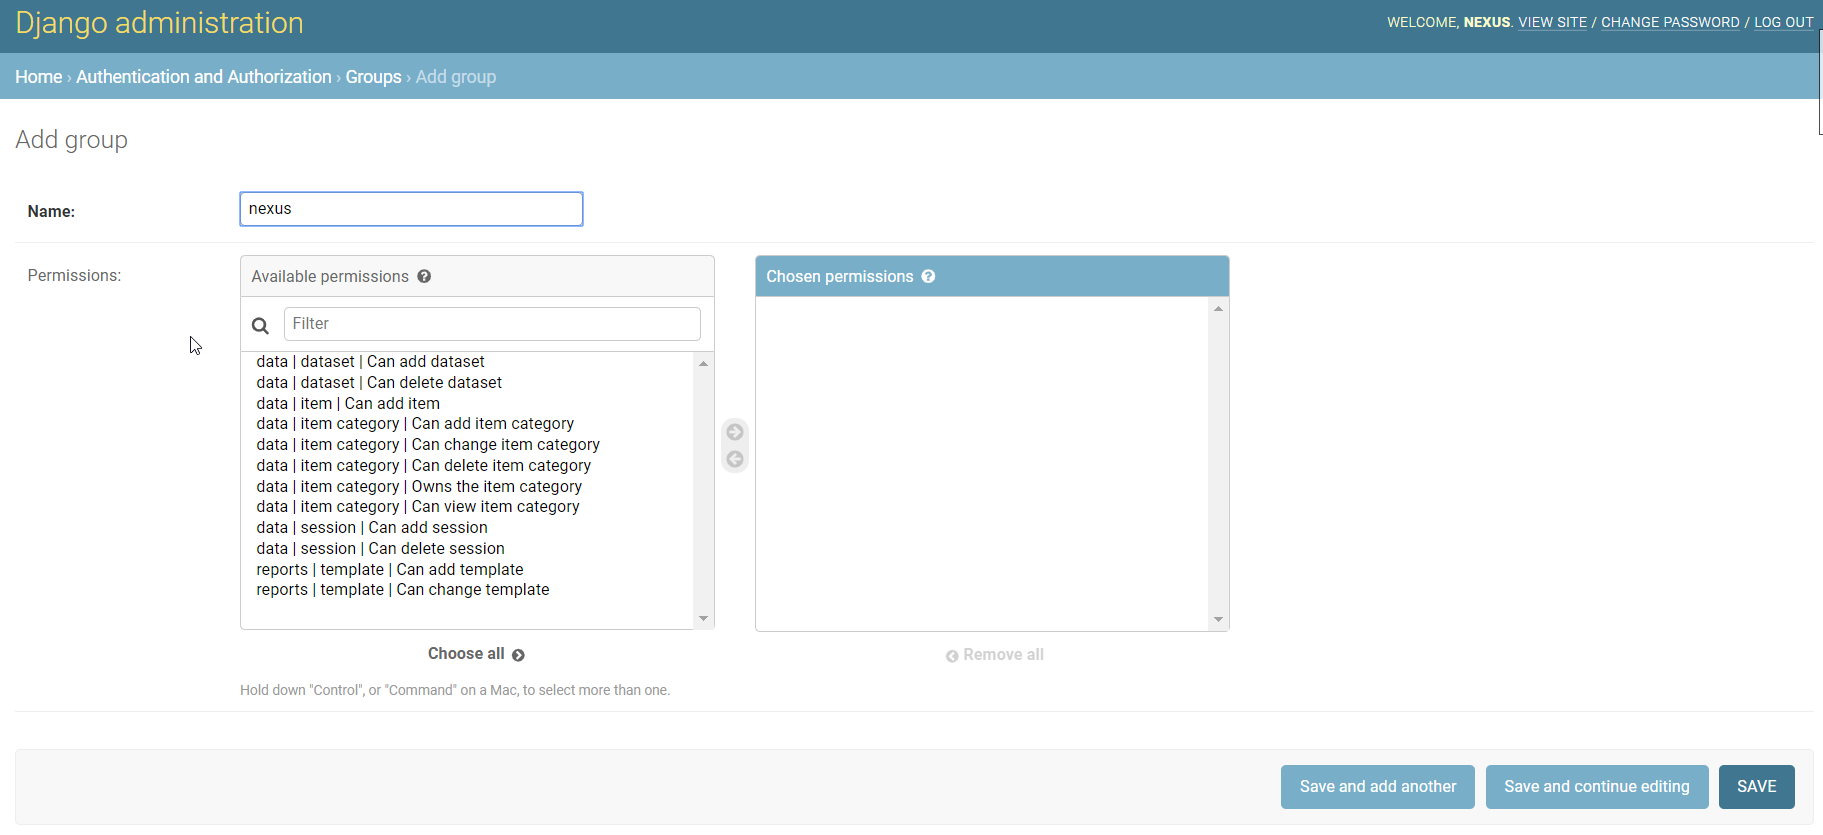
Add a name. You may also choose some global permissions. Double clicking will move the permission to the 'Chosen permissions' box. You can also select multiple permissions and use the arrows at the center to move them back and forth. Click 'Save' if you're done, 'Save and continue editing' if you want to continue editing, or 'Save and add another' if you want to save and then add another group.
Instead of clicking the 'Add' button as in Step 1, you may click 'Change' if you want to go ahead and change an existing group instead. This will bring you to a list of existing groups you can change.
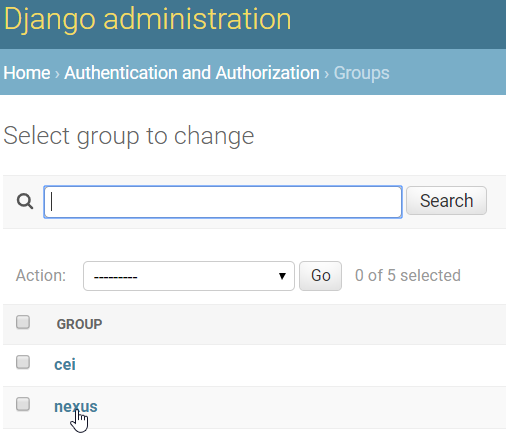
Click on the nexus group. This will take you to a similar form as in Step 1. This is the 'Change group' form.
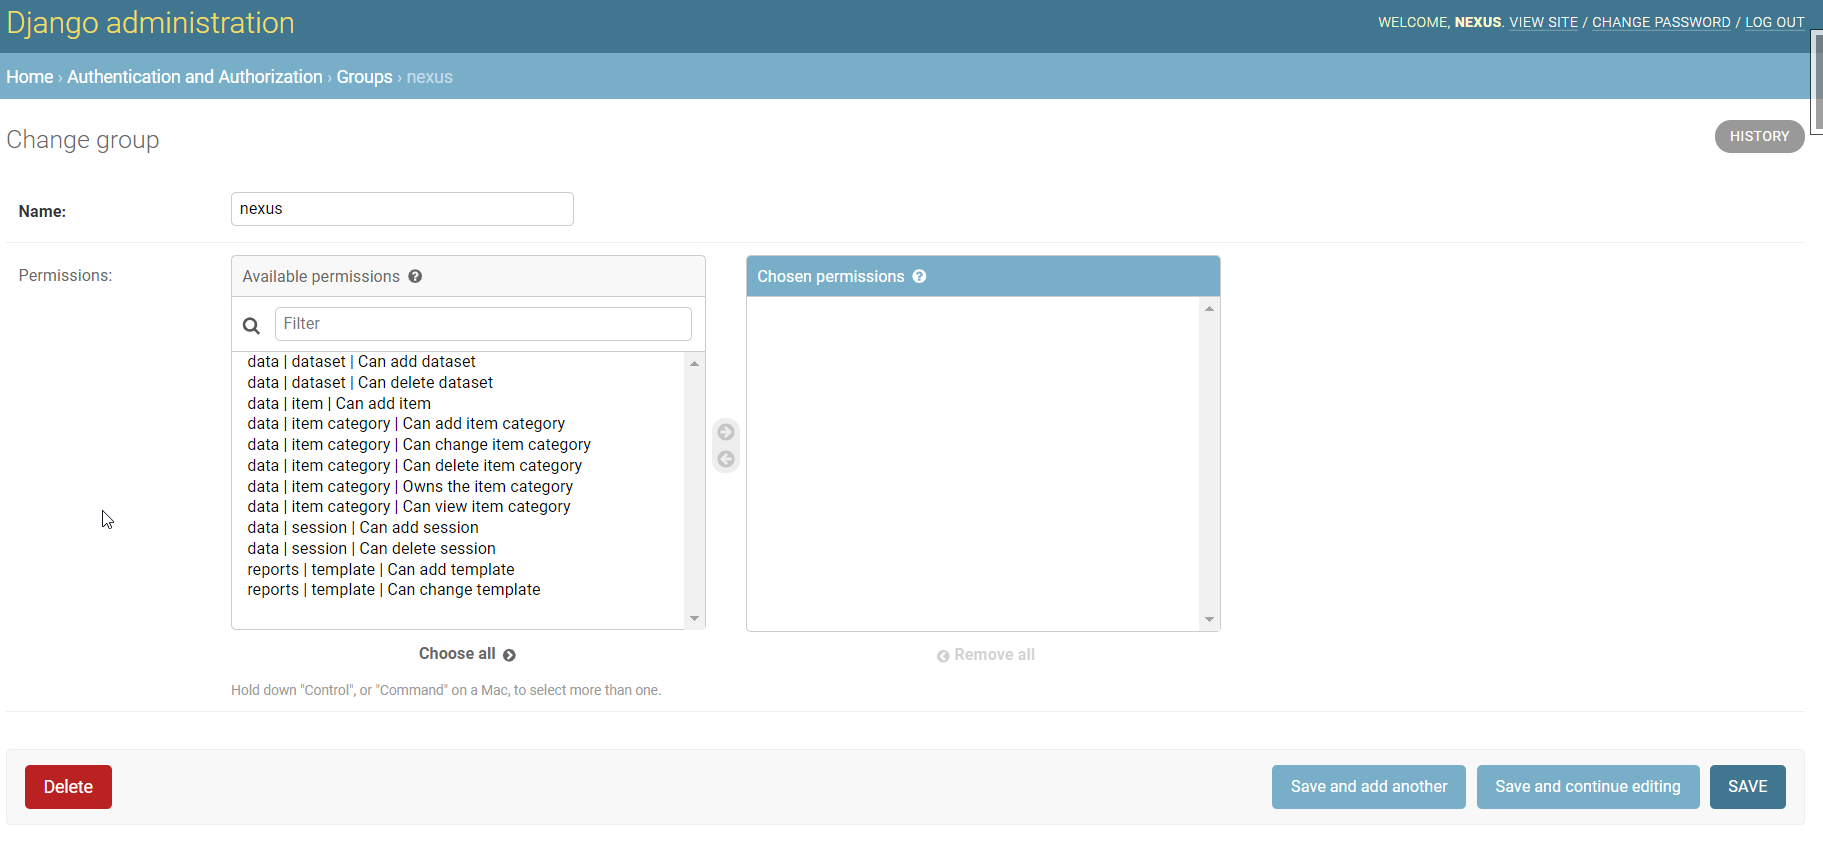
You may edit, assign global permissions and save, or delete it.
Adding/changing a user and assigning/removing groups#
Note: ADR Nexus server by default comes with the nexus user.
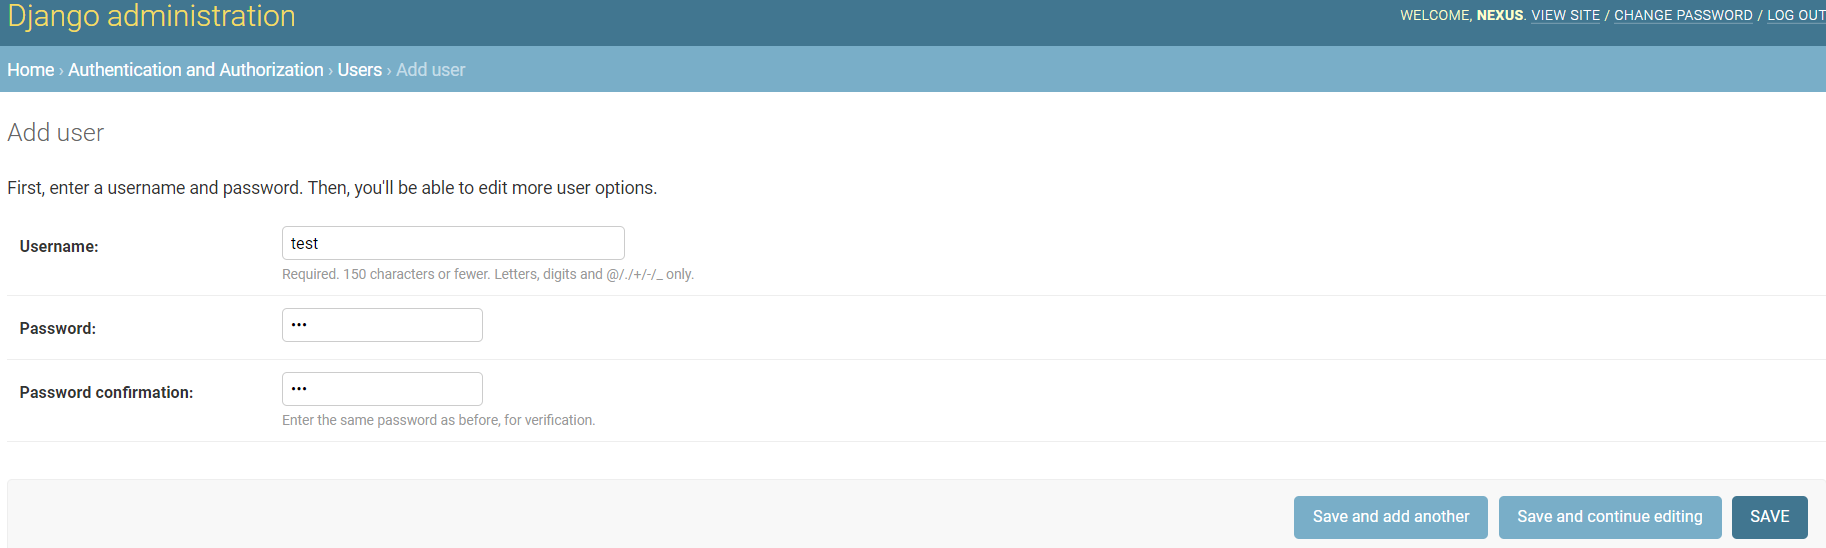
Click the add button as shown in the screenshot above, next to 'Users'. You will see a form similar to creation of groups mentioned above.
Image#
Add a username and password. Click 'Save' if you're done, 'Save and continue editing' if you want to continue editing, or 'Save and add another' if you want to save and then add another group.
Clicking on 'Save and continue editing' will take you to a 'Change user' form where you can continue creating or edit the created user. This is the same form that comes up when you choose to click the 'Change' button in the initial admin page and then select from the list of users(Similar to step 3 under Adding/changing a group and assigning/removing permissions).
In this page, you may:
Edit the first name, last name, email address and login information.
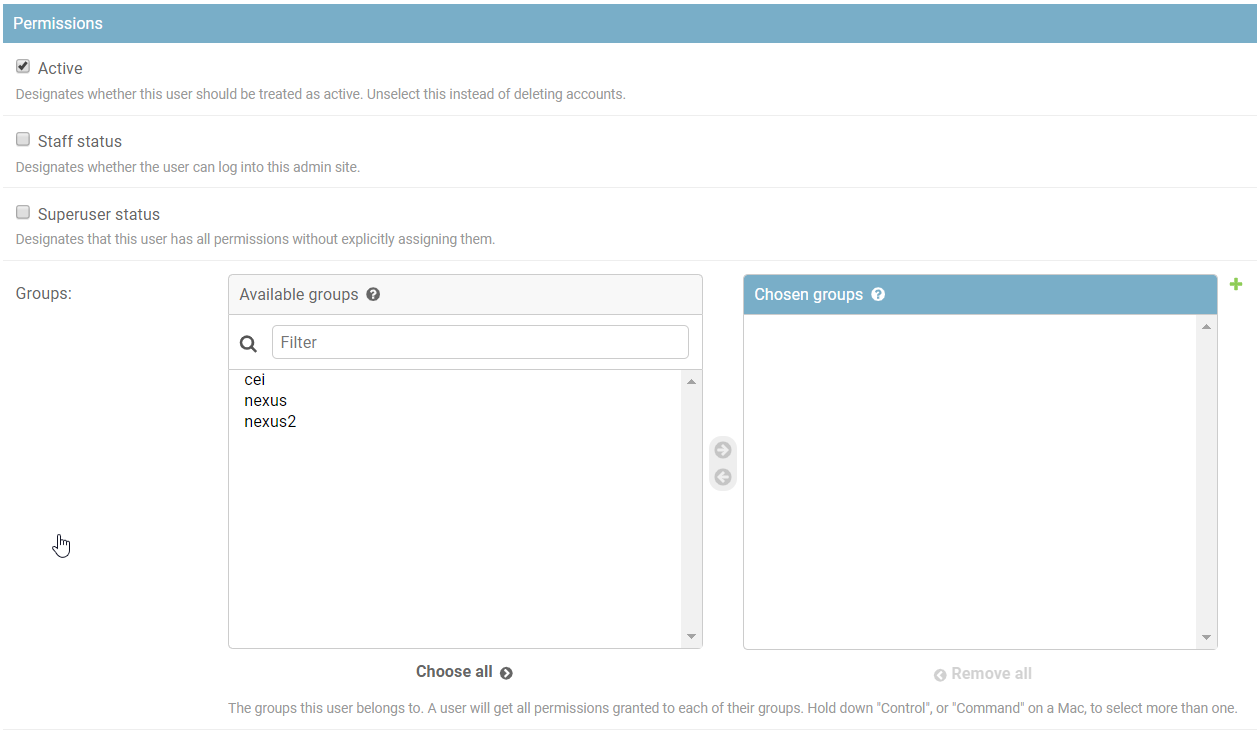
Change permissions information.
The active checkbox is used to activate/disable a user account.
The staff status box sets if the user is a staff or not.(not required currently for our use cases)
The superuser box gives elevated privileges to make the user an admin.
You may also assign/remove groups from/to the user, which will make use of ACLs.
Image#
You may then save or delete the user from this page, if you'd like.