ADR Server Launcher#
What is an ADR server?#
An ADR server is software that allows the user to store, access, and analyze objects created in EnSight (or other applications) with the aim to help the user collect, catalog, analyze data and easily create reports of cumulative information. These objects, called data items, can have a variety of types, from a (x,y) list of values to image files to 3D geometry (more details in the Report Generation Chapter, Items). The data items are collected into databases, which allows for easy storage and post-collection analysis. An ADR server also provides a mechanism to select, process and display collections of items in customized report formats delivered via HTML.
ADR servers can run locally on your desktop system or remotely on enterprise systems or in the cloud (Setting up a remote server instance is beyond the scope of this documentation). An ADR server is most easily accessed via a web browser. It provides a REST API for EnSight or another external application to push data items into an Ansys Dynamic Reporting database. The instructions here focus on managing servers located on a user's local system.
The Launcher#
The launcher is the first place to start when working with stand-alone ADR servers. This tool is capable of creating and configuring a Ansys Dynamic Reporting server to support both local and remote access. It can configure the use of local SQLite or remote PostgreSQL databases, set up formal ACL control, run parallel servers, etc.
Getting Started#
The GUI tool can be launched from the command line:
c:\\> adr_launcher.bat
Note, all of the operations supported by the GUI are also supported via the command line as well as monitor status, etc.
The tool works by creating a server configuration file inside of the Ansys Dynamic Reporting database directory named 'nexus.conf'. The GUI tool allows the user to interactively edit this file and then launch a server using the information stored in the configuration file.
The following dialog will appear:
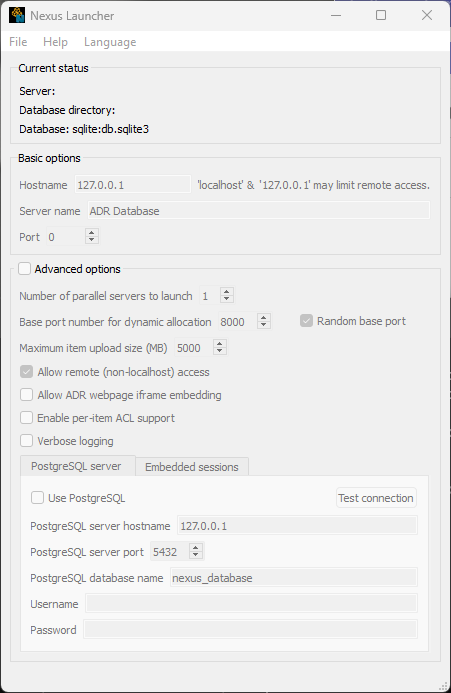
Select a Database to Configure#
The first action you must take is to select the database whose configuration you want to edit. If you do not already have a database created, the File menu has a 'Create local database...' option that can be used to create a new database. Use the File menu 'Select local database...' to select the database configuration. The dialog will be updated to reflect the target database.
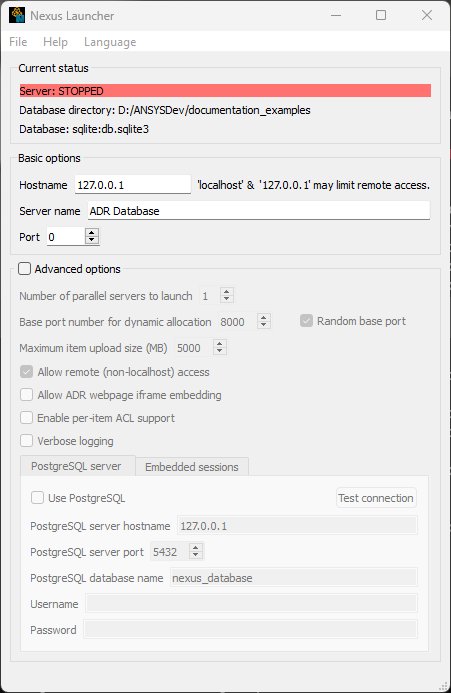
Note that the current status of the server (if any) is displayed at the top of the dialog. Once a database is selected, the various configuration options can be edited.
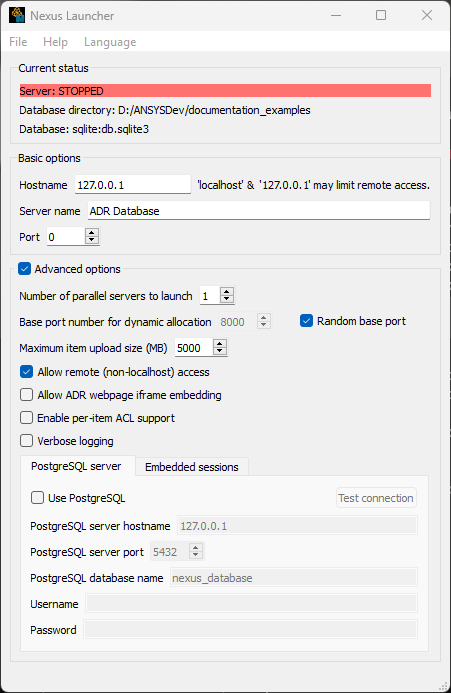
Common options are always available and the "Advanced options" checkbox allows for finer control over less common specific options. Tabs are provided for the PostgreSQL and embedded remote session options. Specific features of each option are described in more detail in the command line interface section.
Once the desired edits have been made, one can save the configuration settings as desired and then either start the server, quit the application or select a different configuration to edit. These actions are available under the File menu.
Launch the Server#
If you select the option to start the server from the File menu, the application will launch a server and then present the following:
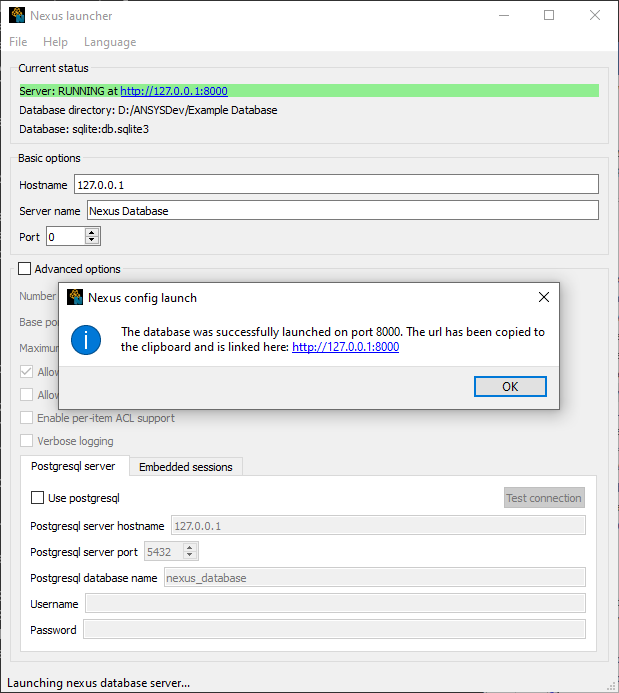
A link that will open the server in a desktop browser is presented and the server status is updated along with the URL for the server. At this point, the File menu option to shutdown the server will become available. If your desktop supports it, an icon will be placed in your system tray and you can control the server from the system tray menu as well:
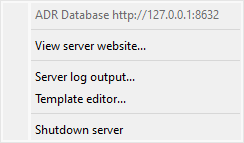
The shutdown option will be there as well as options for reviewing any server log output (if the Verbose option is checked in the configuration), view the website in a browser and launch the Ansys Dynamic Reporting template editor on the database.
Batch/Command Line Operation#
All of the functionality of the launcher is available from the command line and can be used in scripts, etc The command line options (and configuration details) are documented here.