Create an Ansys Dynamic Reporting Template#
Ansys Dynamic Reporting allows the user to create a report template both interactively via the template editor and in a script via the template python API described here (note:the template python API is available starting from Ansys release R 20.1). In this section, we will create a report template with both mechanisms.
Create a template interactively#
In oder to create a report template, you will need to launch the Ansys Dynamic Reporting template editor, via typing:
adr_template_editor.bat
Let's assume you already have a database with the items you'd like to place in the report, but no ADR Nexus server running at the moment. Let's also assume these items are marked with a tag with a GUID from the session they were generated in - to distinguish them from other items in the report.
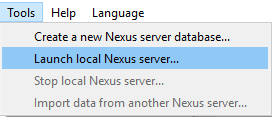
To start an ADRNexus server on top of that database, go into the Tools menu -> Launch local Nexus server...
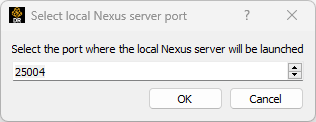
This will pop up a message that asks if you want the ADR Nexus server to shut down when the template editor exits. Select Yes. Next, a message asking you if you want the delete the database once the ADR Nexus server is shut down will appear. Select No. An other widget will ask you to select the db.sqlite3 file that corresponds to the database of your choice. Once this selection is done, and other widget to set the port the ADR Nexus server should use will appear. By default, this port is set to be the first port after port 8000 (included) that is free.
Once you click OK, the ADR Nexus service is started.
Now, it's time to create the report template.
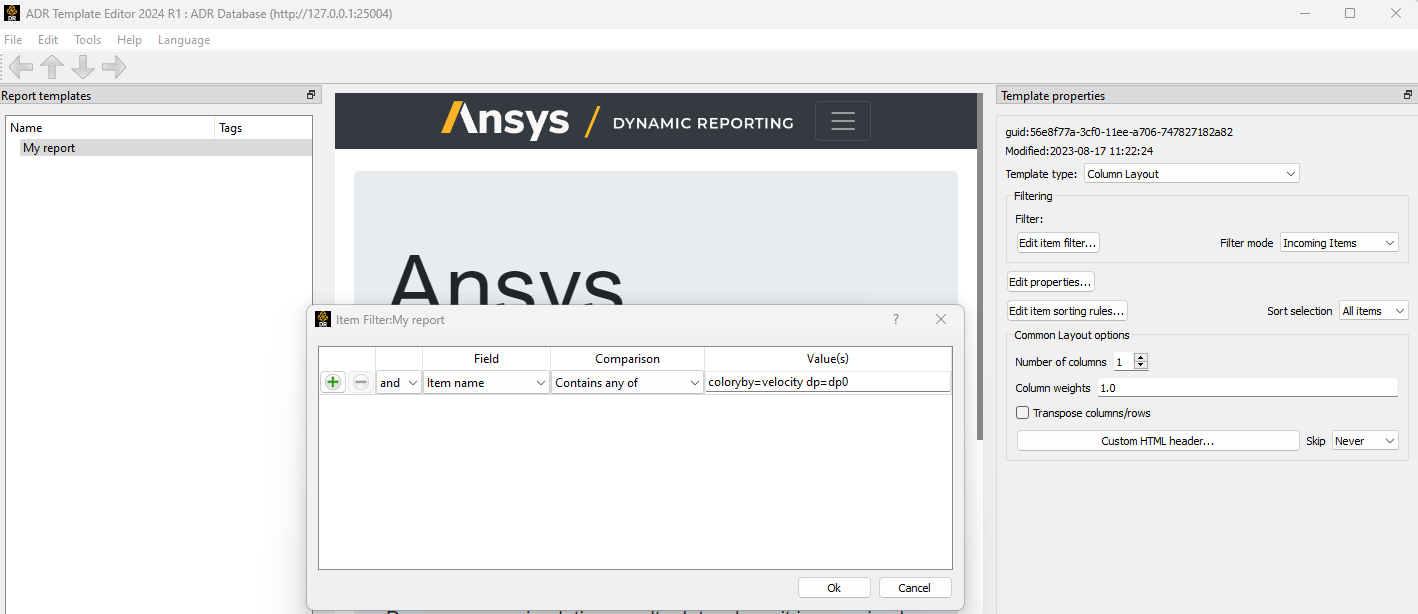
Start by the top level. Select File -> New Report Template to create a new template. By default, its name will be "New Template" and its type will be "Column Layout". Double click on the "New Template" and change its name to "My report". If you were to run the report now, it would present all the items in the database one after the other. So, let's set a filter to get only the items from the session we are interested in. Select the "My report" template, and click on the "Edit item filter...". Set the filter to be: "Item tags contains any of " and then place the tag that is used to mark the items we are interested in.
Now let's create the next level of the report. Create a new template, change its name to Header and then use the -> arrow to push it under the "My report" template. This will make "Header" a child of "My report". Select "Header", and change its template type to be "Panel Layout". Create a new template, rename it "Logo", and use the -> arrow to push it under the "Header". For the "Logo" report, change its item filter to be: Item name Contains any of _Logo Image_. This will make this template only show the Logo image (assuming that this image has been stored into the database as "_Logo Image_").
Create a new template, rename it "Title". It should automatically be created as a child of the Header template, below the Logo template (use the arrows if this is now where it is by default). Change the HTML by selecting the "Custom HTML header" and write "<h1>Test report</h1>". We will need to add a filter so that this template doesn't show all the items. Click on the Edit item filter and set the filter to be: Item name Contains any of _nothing_selected_".
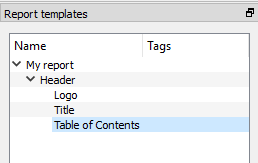
Create a new template, rename it "Table of Contents", and make sure it's a child of "Header", just below the Title template. Change its type to be Table of Contents Layout, and in the option select "Table of Contents". Note how the filter is automatically set the "Item name equal to _NonexistantName_" to filter out all items from the database.
At this point, your template tree should look like:
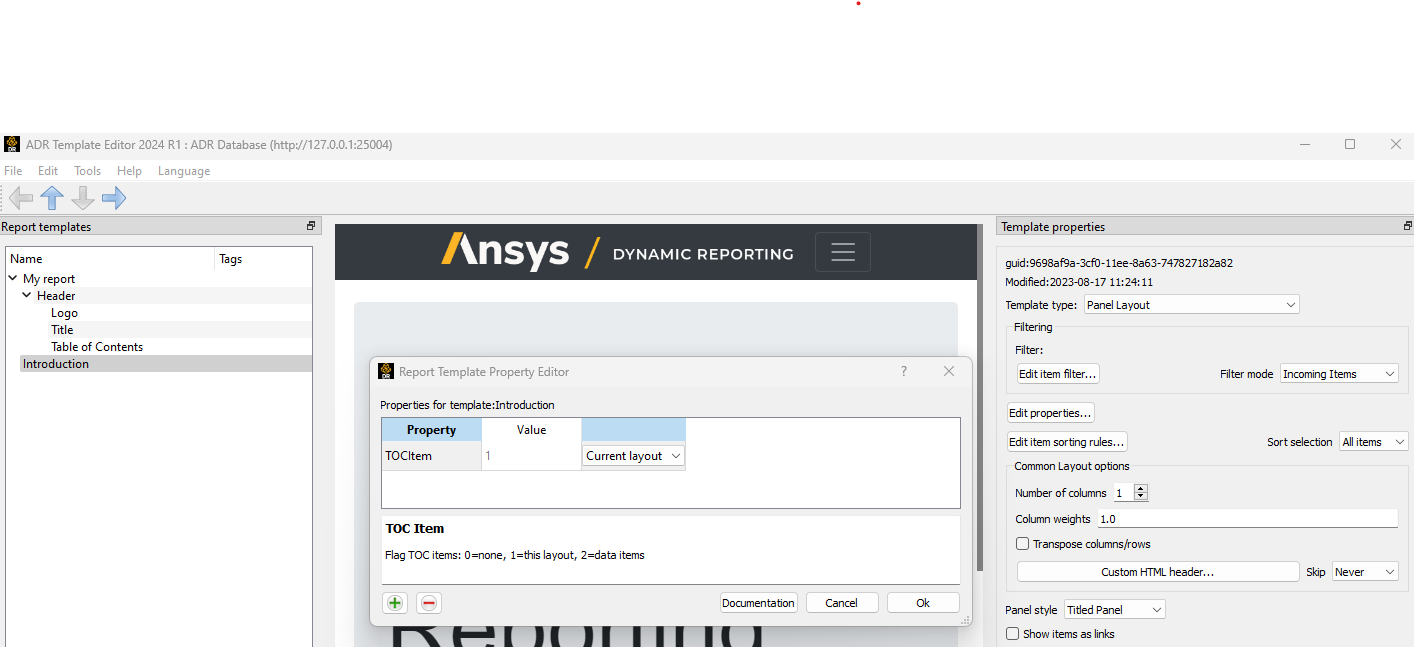
This concludes setting up the top layer of the report. Let's start to prepare the first chapter. Create a new template, rename it "Introduction". Use the arrows to place it at the same level as Header. Change its type to be Panel Layout. Since we want this to be a chapter (and therefore appear in the Table of Content), we need to mark this template as such. Click on the Edit properties and set a new property (with the + button) to be TOCItem = 1:
Click on "Custom HTML header" and set the HTML text to be
<h3>{{toc_item_number}}
{{template_name}}</h3>
. This will make the
title of the chapter to be the template name with the chapter number
automatically generated by the Table of Contents.
Now, let's assume you want to add some text to this chapter to explain how the analysis was performed, and a 3D scene to show the model. Create a new template, rename it "Text" and move it under the Introduction template. Change the filter to be "Item type Include String". Create an other template, rename it "Scene Geometry". Set the filter to be "Item type include Scene".
Since we do not want these two templates to appear in the Table of
Contents, in both the "Text" and "Scene Geometry" set the Properties to
be: TOCItem = 0.
Now, let's create a second chapter. Let's assume we have images from a
slider source, with one image for each position of a clip plane and for
each value of a variable. Create a new template, rename "Sweeping", and
use the arrows to place it at the same level as the "Header" and
"Introduction" templates. Change its template type to be Panel Layout.
Change its properties to contain TOCItem = 1. Click on "Custom HTML
header" and set the HTML text to be <h3>{{toc_item_number}}
{{template_name}}</h3>. Create a new template, rename it "slider_clip"
and place it under the "Sweeping" template. Set its item filter to be
"Item type include Image". Change its properties to contain TOCItem = 0.
CHange the template type to Slider Layout. To set the slider properties,
click on the "Select tags and sort to map to sliders" button, and set:
clip_value=Numeric sort up and var=Text sort up. This assumes that each
image has two tags: clip_value that gives the value at which the clip is
taken, and var, which gives what variable the clip is colored by.
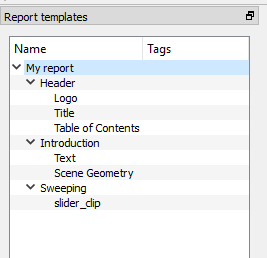
Your template tree should look like this:
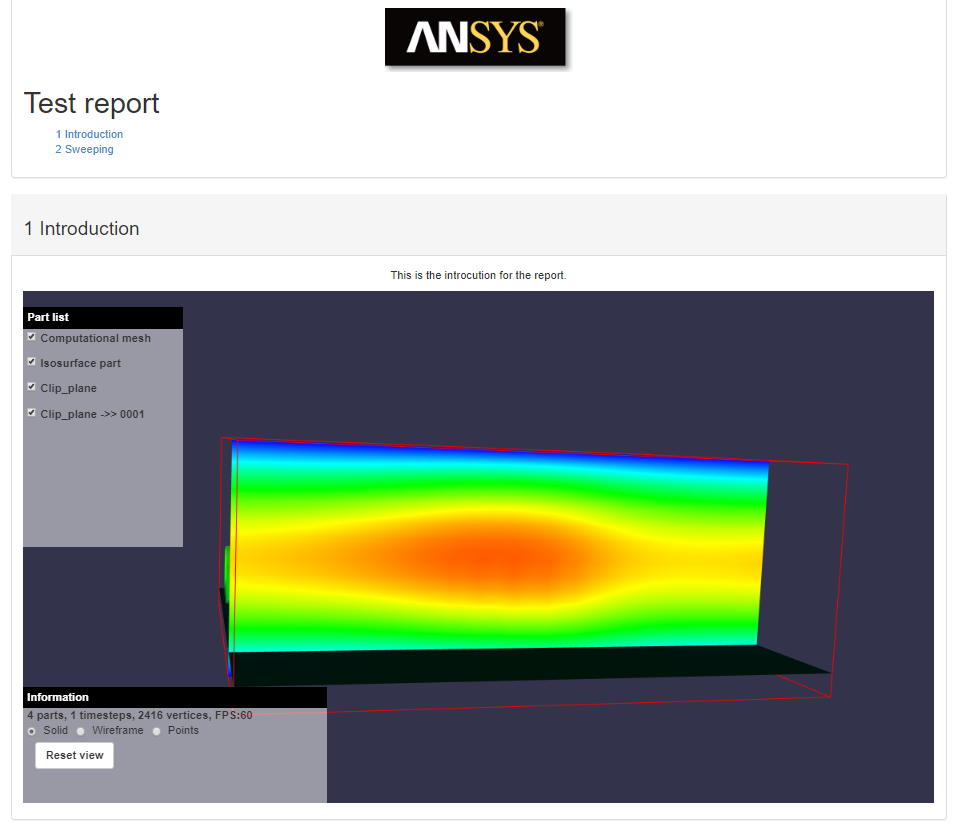
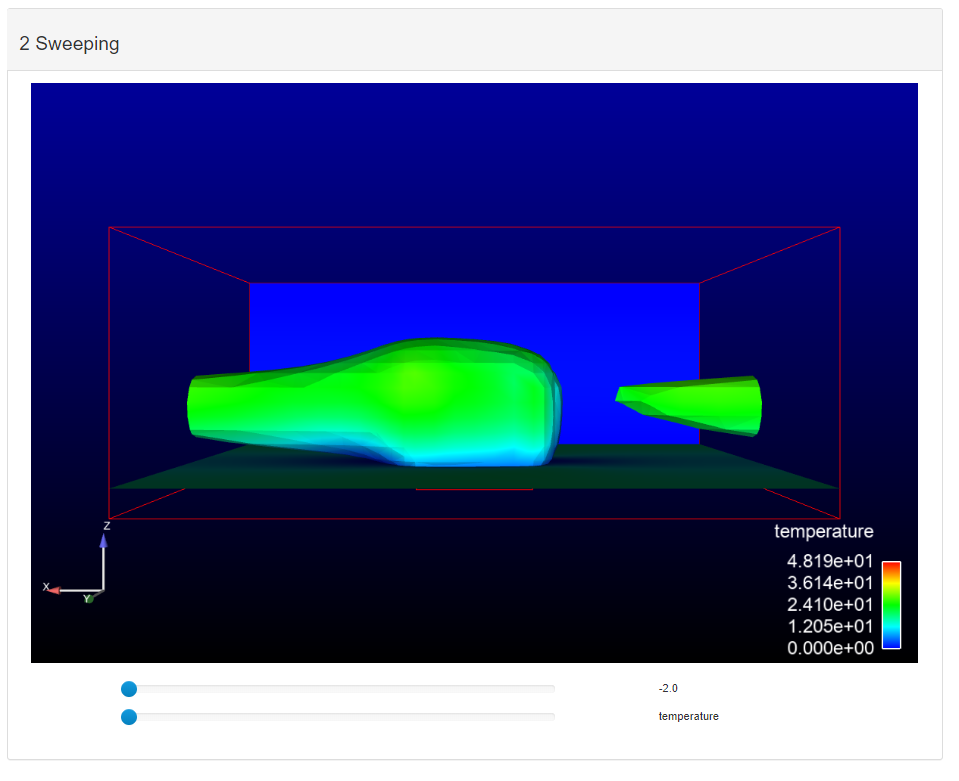
If you run the report, you should get the following report:
Create a template via the python API#
Let's create the same report template via the python API (note: this is available starting from Ansys 2020 R1). Launch cpython.bat and let's connect to the running ADR Nexus server
import cei
from template_editor import report_remote_server, report_objects

server = report_remote_server.Server("http://localhost:8001", "nexus", "cei")
Now, create the templates one after the other, and push each one of them into the database separately. Make sure to first create and put the parent templates, and then its child templates (the child template can not be created if its parent doesn't exist in the database).
my_report = server.create_template(name='My report')
my_report.set_filter('A|i_tags|cont|stateset=4038772e-b799-11e9-a661-33d352cf44ac;')
server.put_objects(my_report)

header = server.create_template(name='Header', parent = my_report, report_type = 'Layout:panel')
server.put_objects(header)

logo = server.create_template(name='Logo', parent = header)
logo.set_filter('A|i_name|cont|_Logo Image\_;')
server.put_objects(logo)

title = server.create_template(name='Title', parent = header)
title.set_filter('A|i_name|cont|_nothing_selected\_;')
title.set_html('<h1>Test report</h1>')
server.put_objects(title)
toc = server.create_template(name='Table of Contents', parent = header, report_type= 'Layout:toc')
toc.set_filter('A|i_name|cont|_NonexistantName\_;')
toc.set_toc(option='toc')
server.put_objects(toc)

introduction = server.create_template(name='Introduction', parent = my_report, report_type = 'Layout:panel')
introduction.set_property({'TOCItem': '1'})
introduction.set_html('<h3>{{toc_item_number}} {{template_name}}</h3>')
server.put_objects(introduction)
text = server.create_template(name = 'Text', parent = introduction)
text.set_property({'TOCItem': '0'})
text.set_filter('A|i_type|cont|string;')
server.put_objects(text)

scene3d = server.create_template(name='Scene Geometry', parent=introduction)
scene3d.set_property({'TOCItem': '0'})
scene3d.set_filter('A|i_type|cont|scene;')
server.put_objects(scene3d)

sweeping = server.create_template(name='Sweeping', parent=my_report, report_type='Layout:panel')
sweeping.set_property({'TOCItem': '1'})
sweeping.set_html('<h3>{{toc_item_number}} {{template_name}}</h3>')
server.put_objects(sweeping)
slider = server.create_template(name='slider_clip', parent=sweeping, report_type='Layout:slider')
slider.set_property({'TOCItem': '0'})
slider.set_map_to_slider(['clip_value|numeric_up', 'var|text_up'])
server.put_objects(slider)
Once this is done, the database contains all the reports. All the child templates know who their parent is, but the parents have been modified after the creation of the children to add their GUIDs to the list "child templates". So, push again the parent templates to make sure this information is recorded as well. Make sure to push first low-level parents and then higher-level parents, in case you have multiple levels.
server.put_objects([header, introduction, sweeping])
server.put_objects(my_report)
Note: if you have the template created in the user interface, you can also use the Export to Python... feature to automatically create the script above. See this section for details.