Template Editor#
The template editor allows the user to perform a number of important server maintenance operations. These include:
Creating a new Nexus database
Starting and Stopping a local Nexus database
Copying report templates and data items between servers
Editing report templates
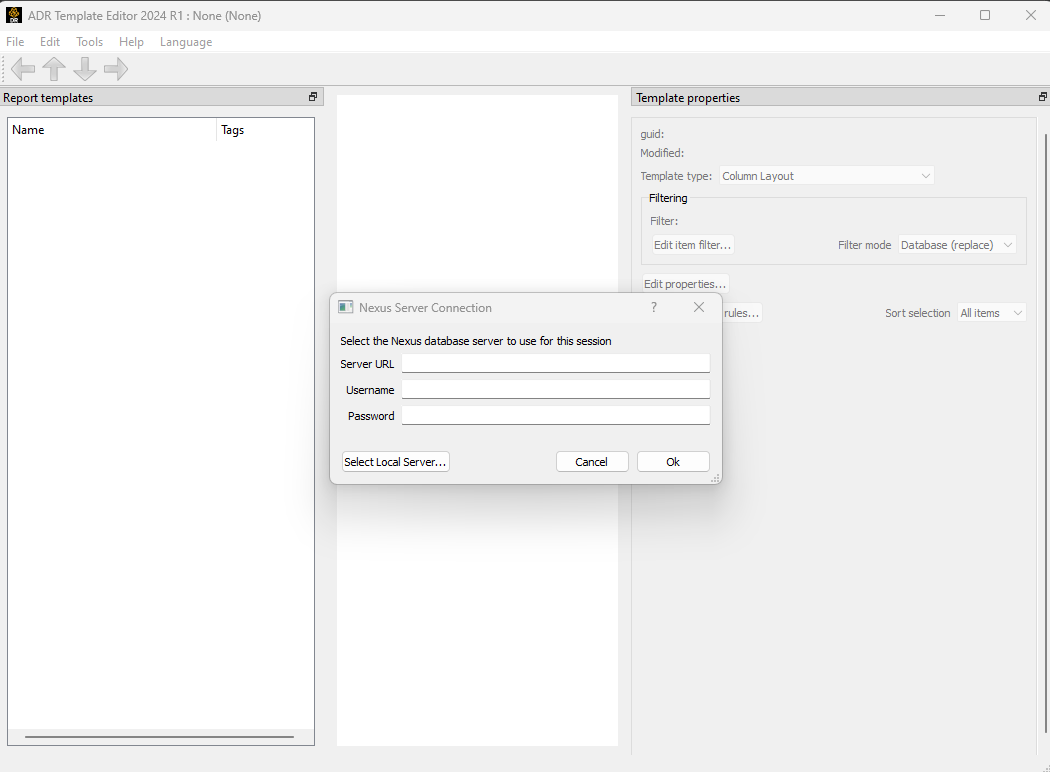
The template editor can be launched from the command line using the command: nexus_template_editor. Once launched, use the File menu to connect to a running Nexus server. Or you can use the Tools menu to launch a new Nexus server. Once a connection has been established, the editor will allow one to create/edit report templates and copy data/templates from another database into this database.
The template editor can also be used to start/stop local Nexus servers and create new Nexus databases. These functions can be accessed by using the appropriate tools menus documented here.
Editing Report Templates#
The most common operation performed in the report template editor is to create and edit report templates. When a connection is made with a database, a list of all of the (top level) report templates and their associated tags will appear in the report template editor left-hand pane.
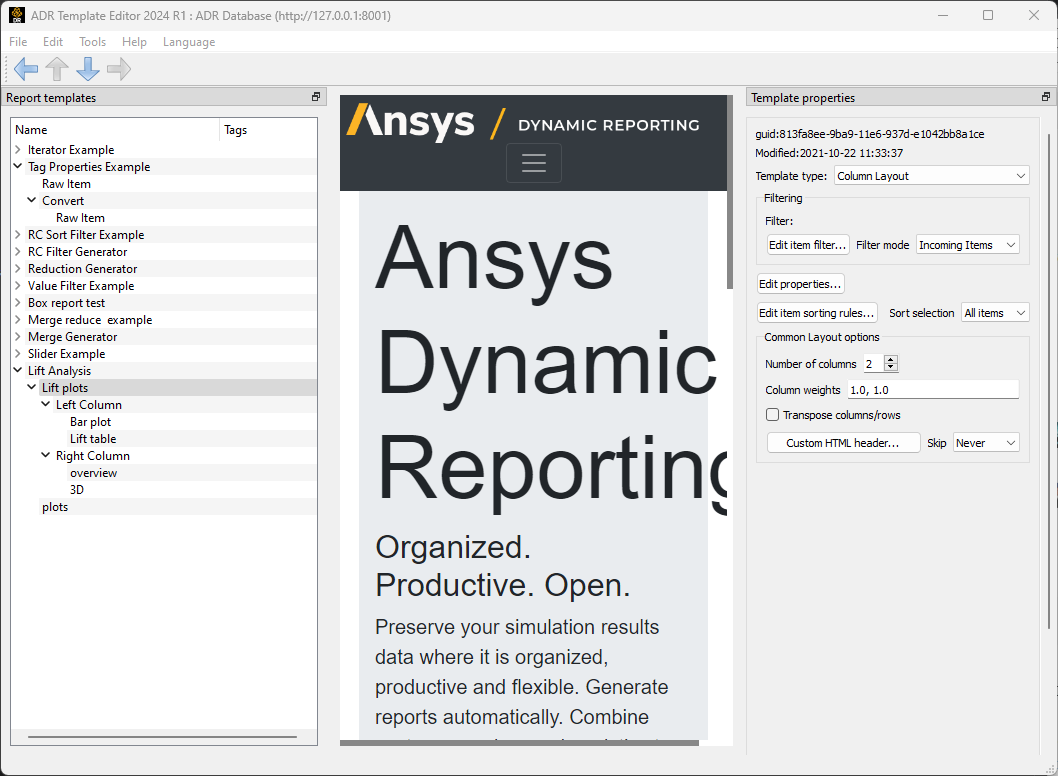
In the example, a report template named "Lift Analysis" (a 'Panel Layout') is selected and expanded. It includes a direct template child named "Lift plots". Only top level report templates are directly accessible from the web-browser interface. The edit menu allows one to cut, copy, paste and delete templates. A new template can be created from the file menu New report template menu. The new template will be created as a peer of the currently selected template. The parent/child relationship between report templates can be modified by dragging items around in the tree view on the left.
If a top-level template is selected, the File->View selected report... menu will bring up a web browser page with the report. Let's look at the 'Lift Analysis' report in more detail. For that report, the generated HTML looks like this:
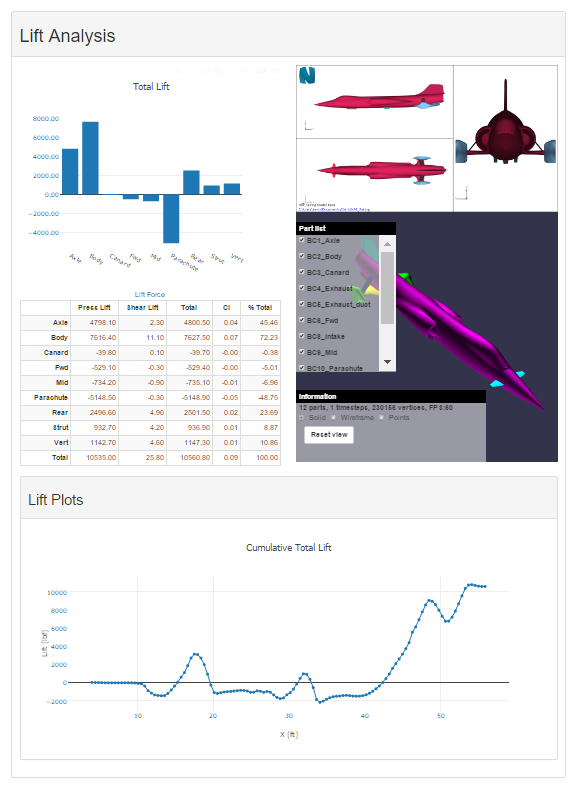
It contains interactive bar and line charts as well as a sortable table and columns that include an image and a 3D interactive rendering of the model.
The 'Lift Analysis' panel template generates the corresponding panel titled 'Lift Analysis' that provides a boundary around the entire report. The physical text for the title is set using the 'Custom HTML header...' button:
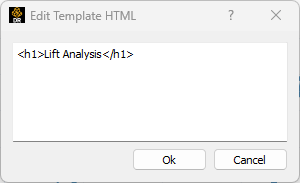
Note that only simple HTML text should be used here. Nexus will take this string and pass it directly to the HTML interpreter for building the report. Therefore, complex HTML that tries to control the appearance of the page, that calls external css modules, and so on, will not be turned off and it might conflict with the drawing of the entire report page. It is up to the user to make sure the HTML passed in this field is correctly formatted and does not interfere with the rest of the page.
The 'Lift Plots' template is a simple, column layout set up to generate a pair of equal sized columns:
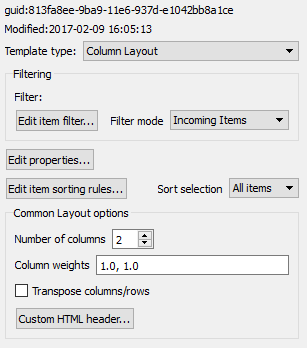
As such, 'Lift Plots' includes a pair of column layout children: 'Left Column' and 'Right Column'. So far, no filtering of the data items has been specified, so all of the data items would be displayed vertically in both columns by default. Fortunately, report templates include the ability to filter data items. The 'Left Column' uses the following filter (clicking on the 'Edit item filter...' button):
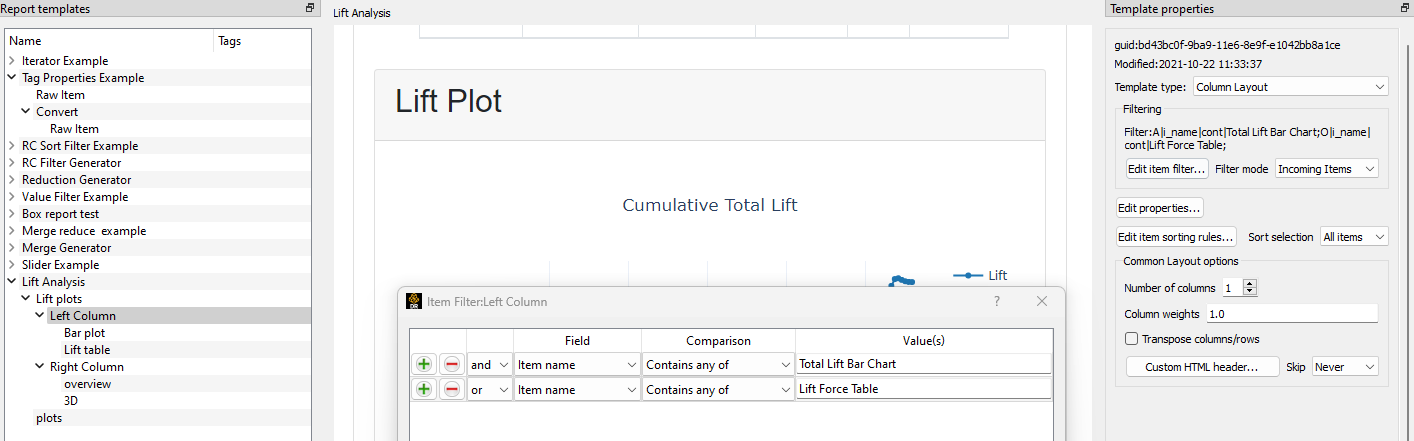
This selects a pair of very specific data items with the names 'Total Lift Bar Chart' and 'Lift Force Table' for display in the left column, resulting in the bar chart and table in the report. The 'Left Column' template also specifies several properties that are used to format the child items (clicking on the 'Edit Properties...' button):
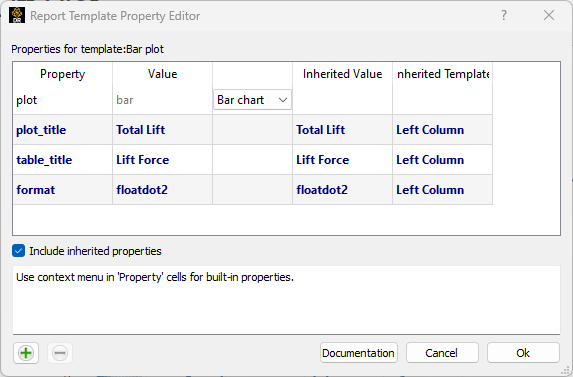
These properties set explicit titles for any plots and tables that are displayed children of this layout. The 'format' property specifies that floating point numbers displayed in those children should be displayed with two digits to the right of the decimal point. See the table item description for more table display properties.
To complete the report, the 'Right Column' template is a 'Column Layout' which contains a pair of additional 'Column Layout' templates that are displayed in a single column. 'Overview' and '3D' are simple 'Column Layout' template that contain item filters which select specific data items, an image and a scene item respectively.
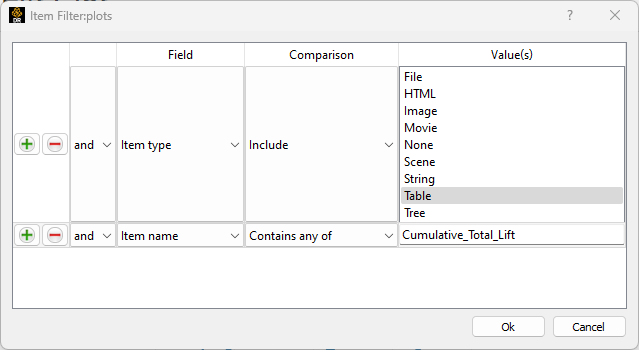
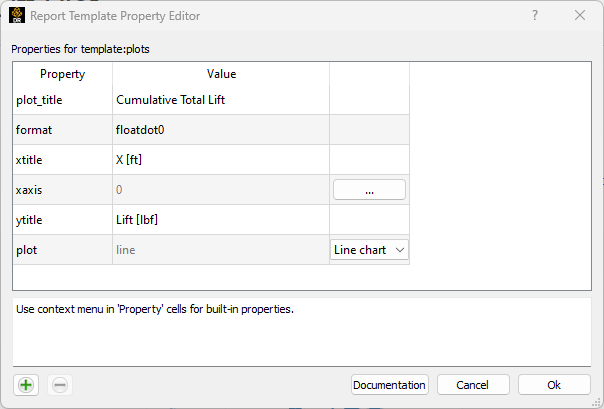
After all of the children of the 'Lift Plots' layout have been displayed, the 'Lift Analysis' template adds on to the report by adding a 'Panel Template' named 'plots' which generates a new panel container with the Custom HTML Header: '<h2>Lift Plot</h2>' and filters the input items using the filter and properties shown here:
Copying Data Items and Report Templates Between Databases#
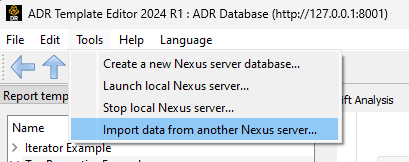
Once a connection to an ADR Nexus server is established, the template editor provides a mechanism to copy Data Items and Report Templates from another ADR Nexus server into the server the template editor is connected to (the server listed in the window title bar). The import operation is started using the menu Tools->Import data from another Nexus Server... (see below).
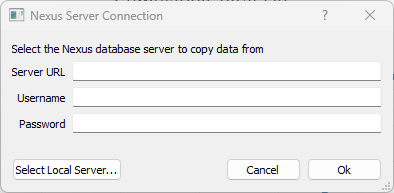
The connection dialog will be displayed, asking for the connection information for the source Nexus server (the server currently connected to the template editor will always be the destination for the data).
The source server will be contacted and by default, all data items and report templates on the source server will be selected. A dialog will provide the details.
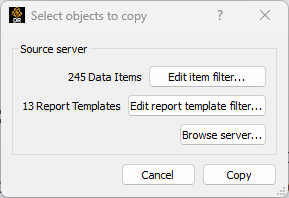
The filter edit buttons allow for more specific data item and report template filters to be specified, potentially narrowing the collection of items to be copied. The Browser source server button will bring up a web browser pointed at the source server, allowing for more detailed review and exploration of the potential selections. Once the filters have been updated to the specific data items and/or report templates one wishes to import, the operation can be started with the 'Ok' button. This operation can take a significant amount of time and progress dialogs illustrate the various stages and completion status.
When the operation is complete, the selected data items and/or report templates will exist in both databases. Note: if identical items/templates exist in the destination database, they will be overwritten by the imported items.
Translate Template to Python API#
The template editor allows the user to visually work with report templates. It is possible to create / modify a report template also via the python API as described here. The user interface allows to automatically generate the python commands that create an existing template. The user can take advantage of this feature to create python scripts that automatically generate report templates.
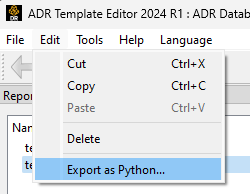
From the template editor, select the template you are interested in. Click on the Edit -> Export as Python... option.
This will prompt a message that asks for the file where to export the python commands. Select a file, and the conversion will be executed. The resulting file will look like the following.
a first section to connect to the running server (assumes a running server)
import ansys.dynamicreporting.core as adr
adr_service = adr.Service(ansys_installation=r"C:\Program Files\Ansys Inc\v242")
adr_service.connect(url="http://127.0.0.1:8000", username="nexus", password="cei")
server = adr_service.serverobj
creation of the root template
template_0=server.create_template(name="Top Level", parent=None,
report_type="Layout:panel")
server.put_objects(template_0)
creation of child template(s). Note that every time a child template is created, it is pushes together with all its parent templates.
template_1=server.create_template(name="Chapter 1", parent=template_0,
                                 report_type="Layout:basic")
template_1.params='{"column_count": 2, "column_widths": [1.0, 1.0]}'
server.put_objects(template_1)
server.put_objects(template_0)

template_4=server.create_template(name="Table", parent=template_1,
                                 report_type="Generator:tablemerge")
template_4.params='{"merge_params": {"column_labels_as_ids": 1,
                                    "transpose_output": 0, "force_numeric": 1,
                                    "merge_type": "row", "column_merge": "all",
                                    "column_id_row": "0", "collision_tag": "",
                                    "unknown_value": "nan", "table_name": "merged table",
                                    "source_rows": "\\'Time|merge\\'"},
                                    "properties": {"plot": "table"}}'
template_4.set_filter("A|i_type|cont|table;")
server.put_objects(template_4)
server.put_objects(template_1)
server.put_objects(template_0)

[...]
Note that the python commands to generate only the selected template will be generated. When you select a template that is a child template, the generated script will describe how to create its root template and all its children.